Overview
GFI LanGuard uses a Microsoft SQL database to store information from network security audits and remediation operations. There are occasions that require the Microsoft SQL Server Databases to be moved from one server to another.
This article provides the steps on how to complete this process by using the Microsoft SQL Server Detach and Attach functions.
Diagnosis
The data and transaction log files of a Microsoft SQL database can be detached and then reattached to the same or another instance of SQL Server. Detaching a database removes it from the instance of SQL Server but leaves the database intact within its data files and transaction log files. These files can then be moved to a new location and used to attach the database to any instance of SQL Server, including the server from which the database was detached.
This process can be used to move the database or change the database to a different instance of SQL Server on the same computer.
Note: Your environment can introduce variables and restrictions affecting the detach process, please refer to the Microsoft article Database Detach and Attach (SQL Server) to verify them before proceeding.
Solution
When moving a database it is important to make sure that the flow of data is stopped prior to migration. Close GFI LanGuard and stop all GFI LanGuard services.
Once this is done, proceed with migration:
- Open the Microsoft SQL Management Studio server and connect to the Microsoft SQL Server where the database is located.
- Locate the database you want to move the location of under the Databases node, the default name for the LanGuard database is LNSSScanResults12.
- Right-click the database and choose Properties.
- Click the Files node of the Database Properties dialog.
- Note the Path and Filename of both of the files (one will be a .MDF database file, and one will be a .LDF transaction log file) and close the dialog.
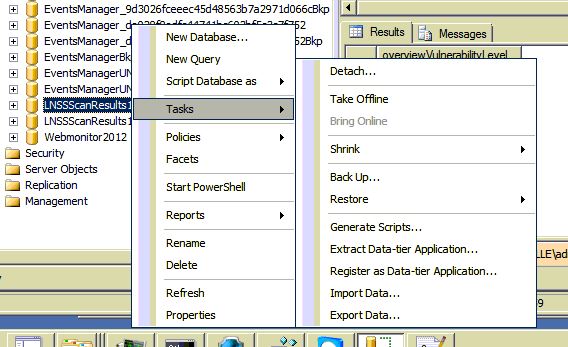
- Right-click the database and choose Tasks > Detach...
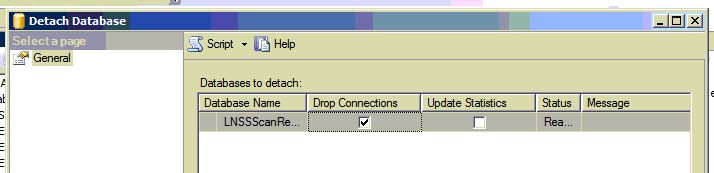
- Check the box to Drop Connections and click the OK button at the bottom
- Move the database files from the current location (see step 5) to the drive and directory where you want to store them.
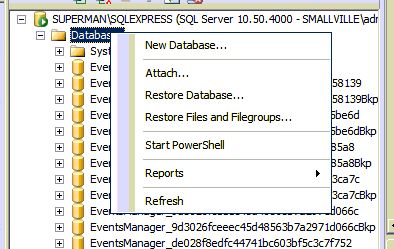
- In the management studio, right-click the Databases node and select Attach...
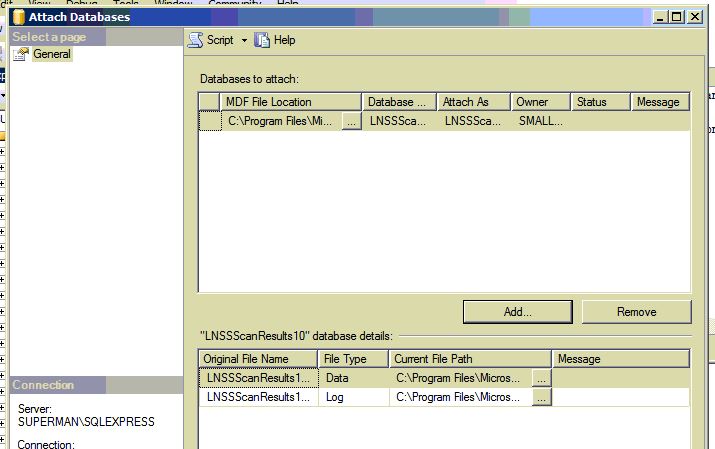
- Click the Add... button, navigate to the directory you put the.MDF database file and select it (it will automatically add the .LDF transaction log file).
- Click OK, and the database will be re-attached.

Once migration is completed, start GFI LanGuard services.
Testing
A quick way to verify migration success is to launch the GFI LanGuard console and go to Configuration > Database Maintenance Options - this will show the currently connected SQL server and the SQL server database in use.
Additionally, you may click on Manage list of scanned computers... and see that the Scan Results database is operational.

Priyanka Bhotika
Comments